Badge Hacking - DEFCON - Embedded Systems Village Badge 2023
This past year at DEF CON, the Embedded Systems Village (ESV) sold a custom badge that at the time, I thought was a CTF challenge. Fast forward months later when I’ve actually sat down to look at the badge, It turns out the badge is centered around a “FTDI chip” which enables communication to multiple embedded communication protocols. The badge actually enabled CTF contestants at DEF CON to poke at embedded systems, and is a pretty useful device for the casual hardware hacker. This blog post will give a run down on how to leverage their badge to communicate to hardware over UART.
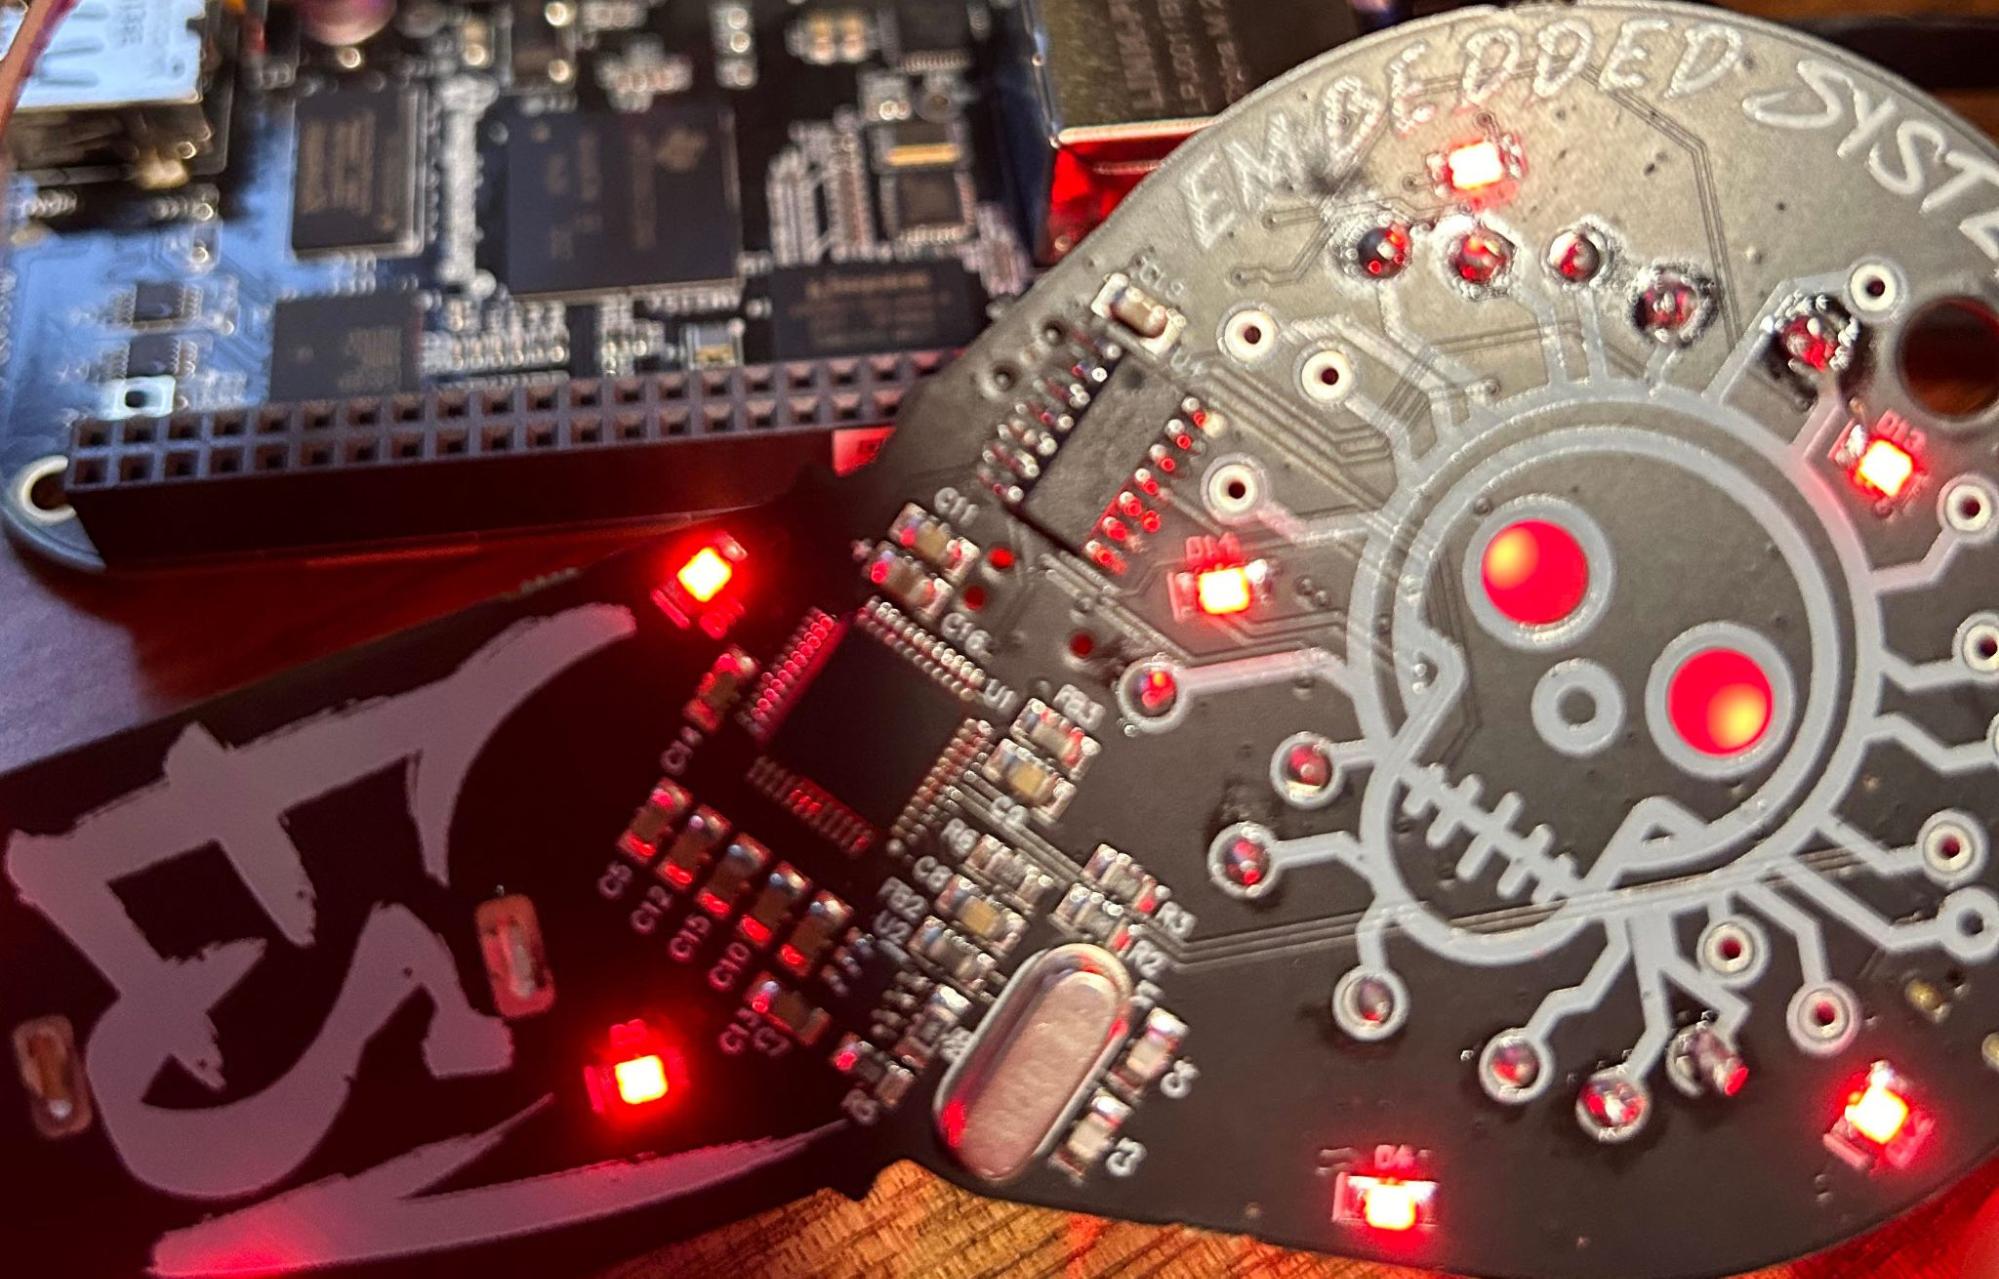
FTDI Chip Breakdown & Silkscreen Layout
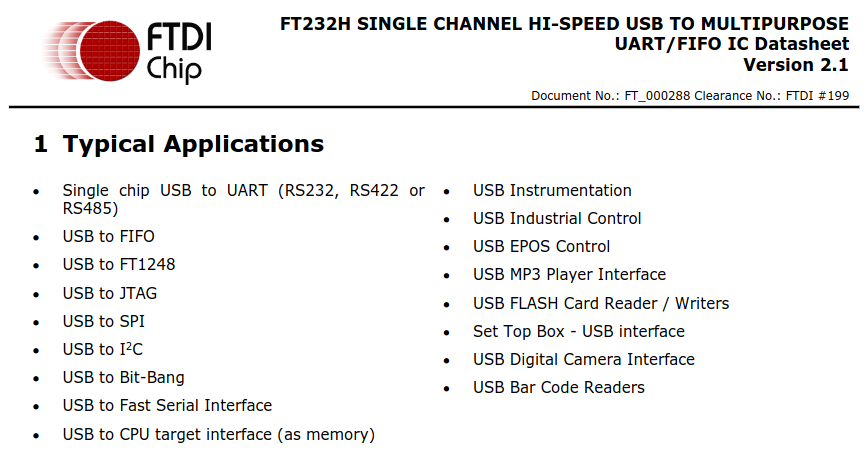
Future Technology Devices International (FTDI) manufactures IC chips that perform all sorts of complicated tasks. One of these tasks is to provide an interface to other interfaces (USB to $some_other_protocol like SPI). In this case, the Embedded Systems Village badge allows for end users to communicate to the protocols shown on the silk screen via USB-C. This is all powered by the FT232H chip that’s present on the board. The datasheet shown below breaks down some typical applications this chip is used for which correlate perfectly to poking at (you guessed it) embedded systems you would typically see at various hardware CTF challenges at DEF CON. For those with a Tigard board, this is actually of the same model, but the Tigard board is slightly newer.
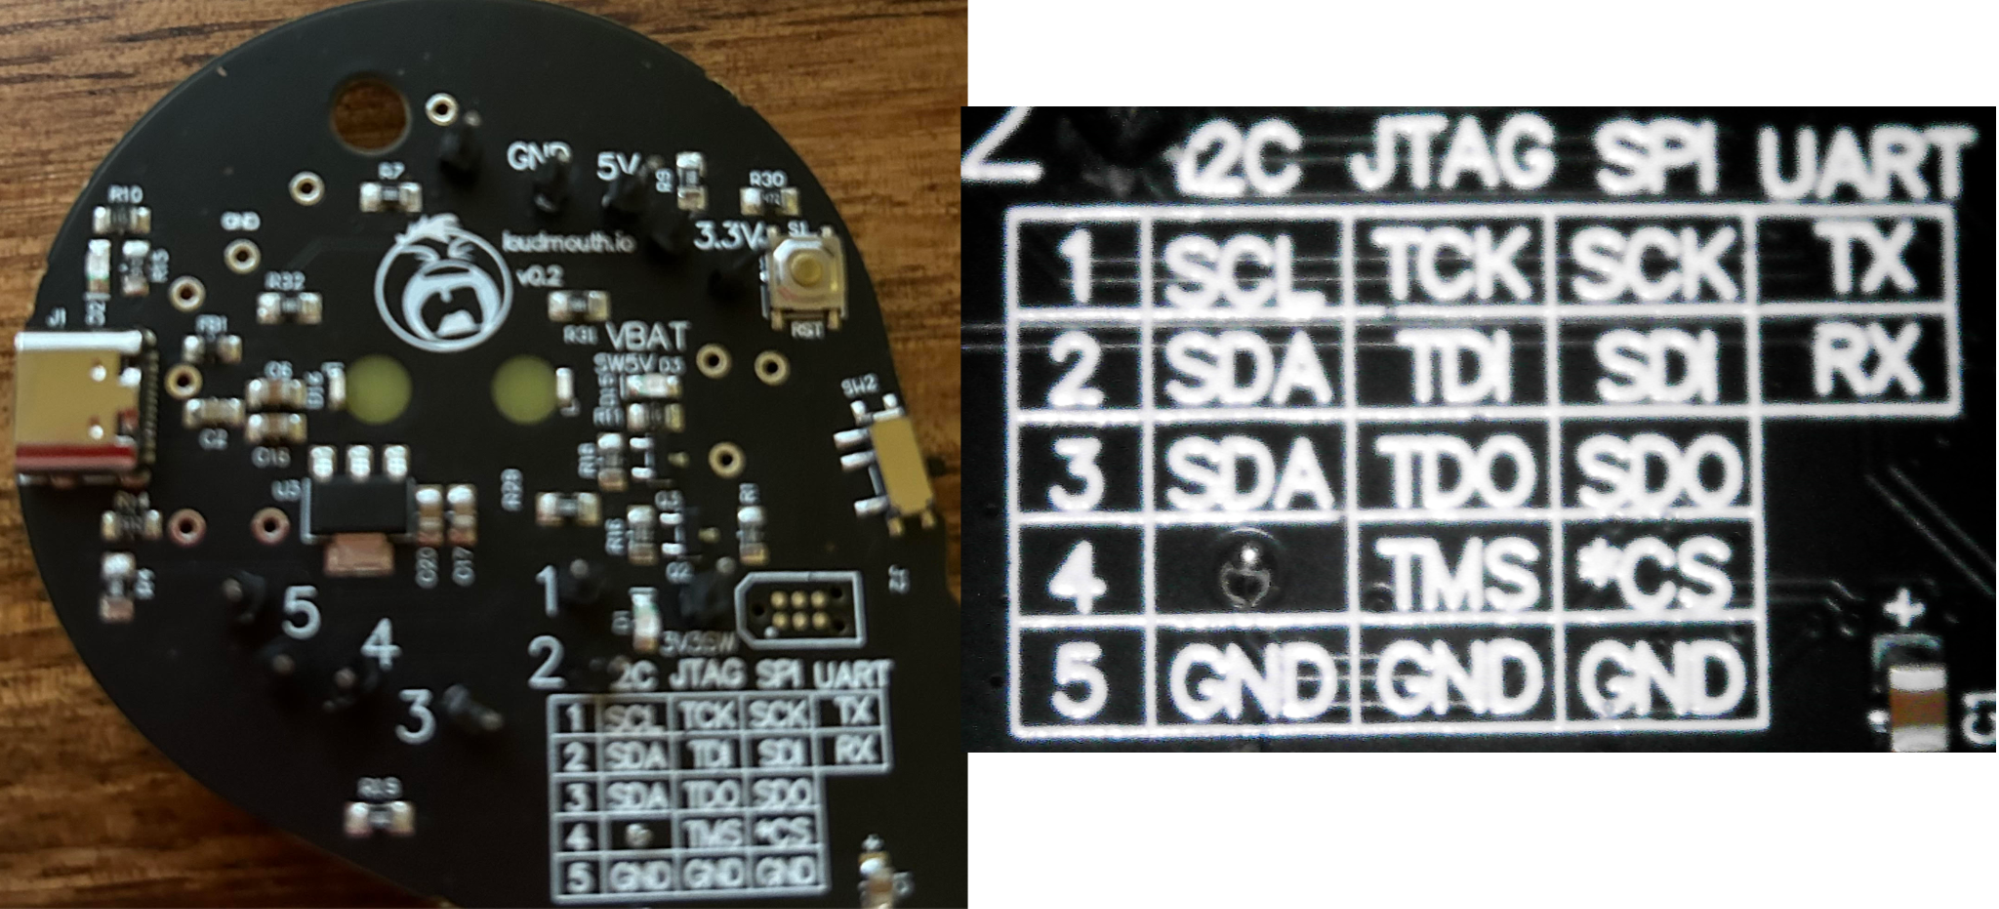
The back of the badge contains a chart with the corresponding pinout and protocol associated with said pinout. To communicate to a target device via I2C, JTAG, SPI, UART, you simply connect your jumper cable to the corresponding pin on the board to the corresponding pin on a target device. Even better, the badge itself can supply 3.3v or 5v to the target device. After soldering on the pins, the badge is ready to be hooked up to the target device. In this blog post, I’ll demonstrate a UART connection to a Raspberry Pi.
Talking to The Badge via UART
Connecting the badge to your laptop over USB-C, you’ll be greeted with the following in dmesg.
Shown below next to the red 1 marker, information about the device is populated. Notably, the “serial number” field contains odd characters that one would not normally associate with a serial number. I suspect the serial number here was some aspect of a CTF challenge that’s long passed, but worth pointing out. At the “2” marker, metadata information about the FTDI USB Serial Device converter and associated chip is labeled. Finally at marker “3” the corresponding serial device on the host is listed. When connecting the badge to a Raspberry Pi via UART, the end-user will use the screen utility (or minicom or whatever your favorite tool is) to communicate to /dev/ttyUSB0 to talk to the target device.

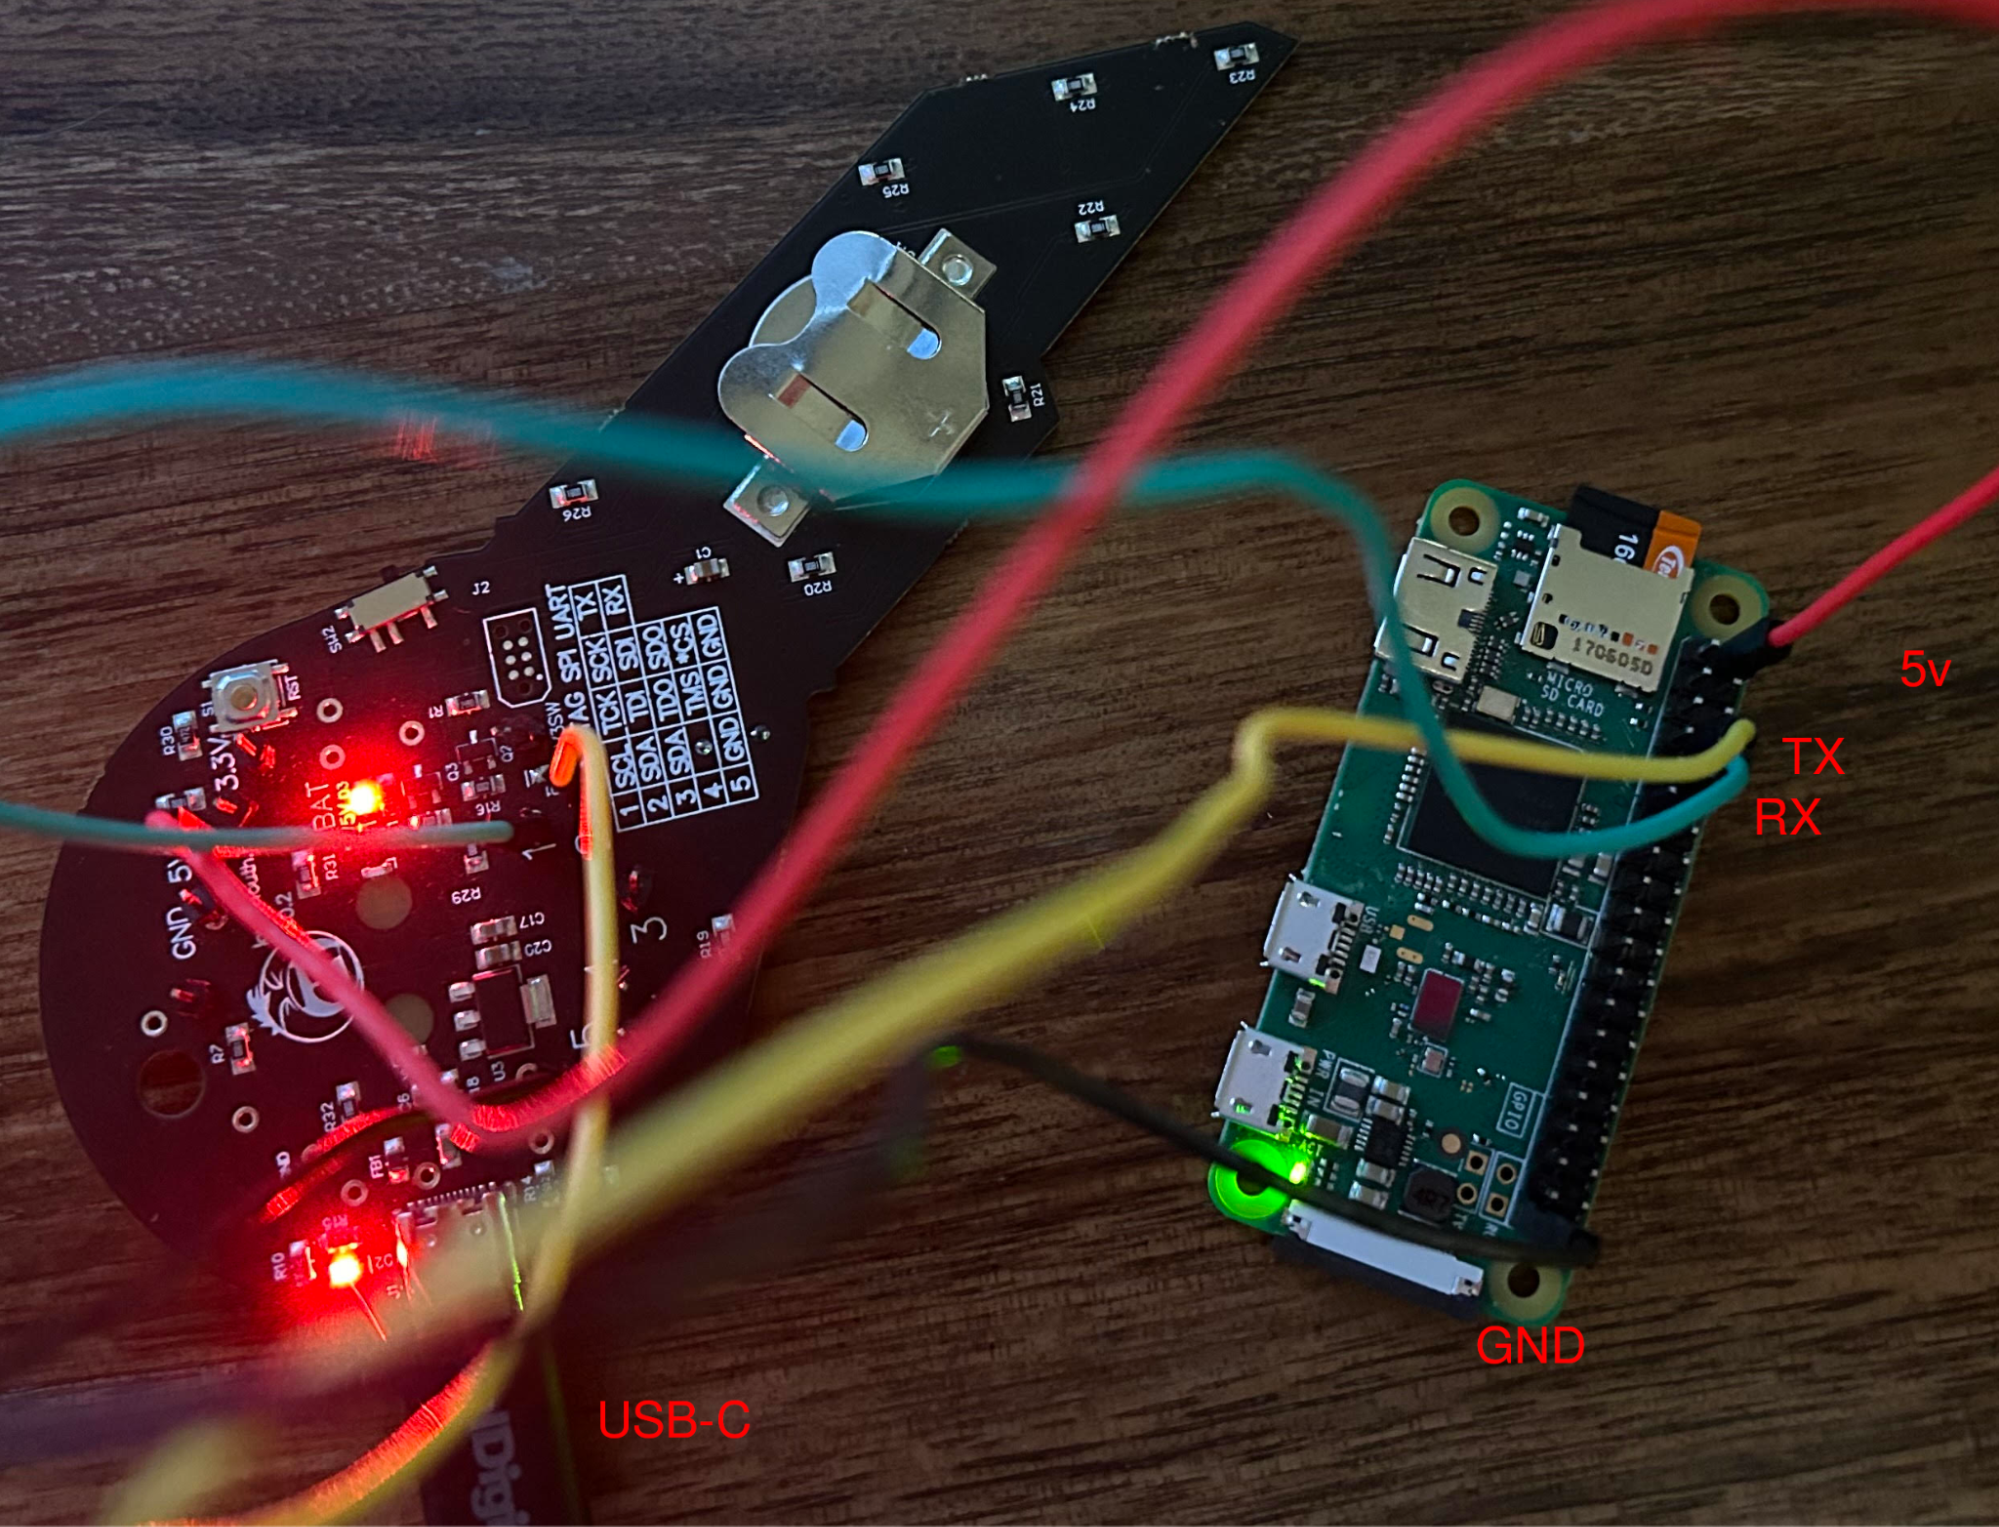
Consulting the official Raspberry Pi hardware documentation, the pinouts we care about for UART connection are GPIO 14 (TX), GPIO 15 (RX), GPIO 2 (Power) and GPIO 39 (Ground). The Raspberry Pi I’ll be using is a Raspberry Pi W, but the GPIO pinout is the same as a full size Pi. The pinouts from the badge that are UART related are pins 1 and 2 for TX and RX respectively. Both ground and 5v are individually labeled on the badge. A final step is to modify the config.txt on the Raspberry Pi to enable UART connections. A detailed guide on how to do that can be found here.

A visual hookup of the badge to the Pi is shown below with the corresponding pins labeled in red text.
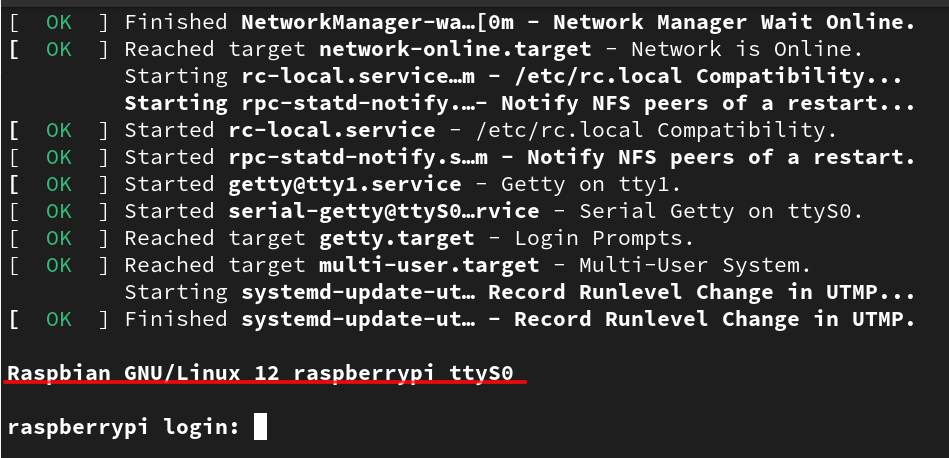
Looking back at the terminal, executing screen /dev/ttyUSB0 115200 results in UART communication with a 115200 baud rate on device ttyUSB0 which happens to be the DEF CON badge. Highlighted in red in the image below shows the login prompt occurring over ttyS0, the UART serial connection.
Beyond The Blog
InfoSec Conference badges have a long history of having small easter eggs or challenges with them. They themselves make for a fun weekend hacking project which could be repurposed to help with a CTF challenge or actually add to your toolkit of hardware hacking supplies. I think the Embedded Systems Village did an excellent job with this past year’s badge and I look forward to picking up one this year!