Building A Router Pt-2: Building OpenWrt in a Container
About The Project
Following up from the most recent Arch Cloud Labs blog post on researching and choosing hardware for OpenWrt, this blog post will quickly cover how to build an OpenWrt image for a physical device. If you’re interested in building and testing an image in a Virtual machine or a container, look at the “Developer Guide” for more details.
Containerizing The Quick Build Guide Environment
The OpenWrt Developer “Quick Build” guide outlines the necessary dependencies to build OpenWrt depending on your underlying operating system. I prefer having development environments wrapped up in easy to build containers, so I wrapped the Arch Linux guide into a single Containerfile as shown below. If you’re not familiar with Vim and Tmux, now’s a great time to explore some of those utilities. Being able to easily pop in and out of tmux panes within a Container makes these little development environments very nice, and convenient vs having to leverage VS Code and its associated container integration.
FROM archlinux
# Setup environment with build tools
RUN pacman -Syy && \
	yes | pacman -Sy --needed base-devel autoconf automake bash binutils bison \
	bzip2 fakeroot file findutils flex gawk gcc gettext git grep groff \
	gzip libelf libtool libxslt m4 make ncurses openssl patch pkgconf \
	python python-distutils-extra rsync sed texinfo time unzip util-linux wget which zlib \
	asciidoc help2man intltool perl-extutils-makemaker swig vim tmux

WORKDIR /opt/
RUN git clone https://git.openwrt.org/openwrt/openwrt.git && \
	/opt/openwrt/scripts/feeds update -a && \
	/opt/openwrt/scripts/feeds install -a

ENTRYPOINT ["/bin/bash"]
Executing podman build . -t acl:openwrt produces a ready to use container image. Next, I clone OpenWrt to my host machine and mount the git repository into the container via the following command:
$> podman run -ti -v `pwd`:/opt/ acl:openwrt
One could modify the previously mentioned Containerfile, to have the OpenWrt git repo pulled during container creation, but I don’t want N-number of exited/stopped containers with various states of OpenWrt builds based on the .config file. This also cuts down on the overall size of the container as the feeds update and feeds install command bring down the latest packages for OpenWrt. It’s also possible to choose the specific feeds to download if you are building an “ultra-slim” OpenWrt build.
Building for your Target Device
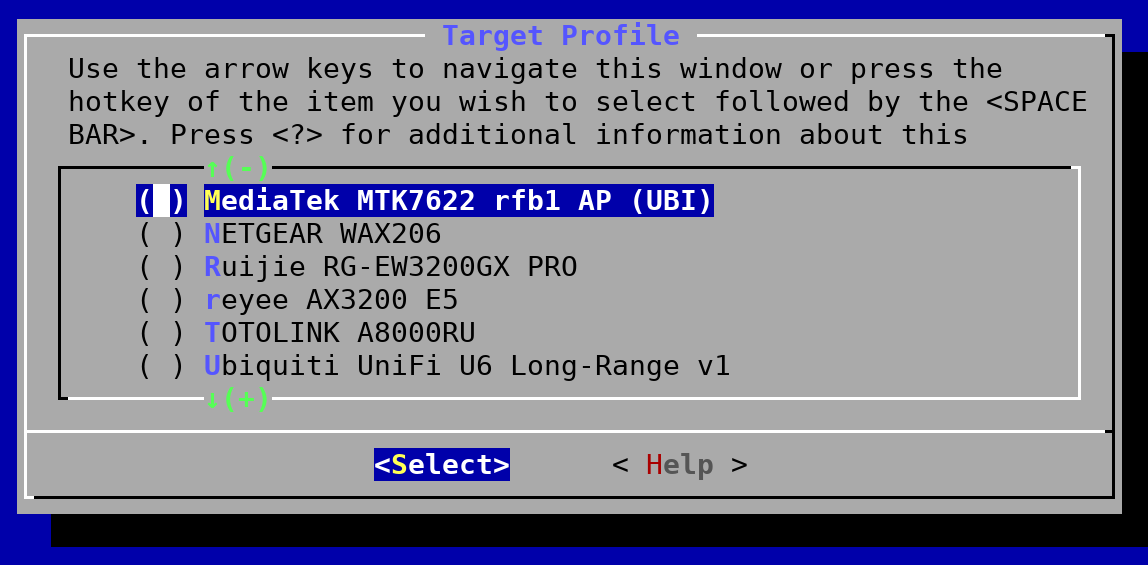
After cloning OpenWrt into your development environment, executing make menuconfig will present you will see the familiar ncurses-menu. Those who have tinkered with custom Linux kernel builds or Buildroot will feel right at home. The example below shows a variety of target profiles for the MediaTek Ralink ARM SoC.
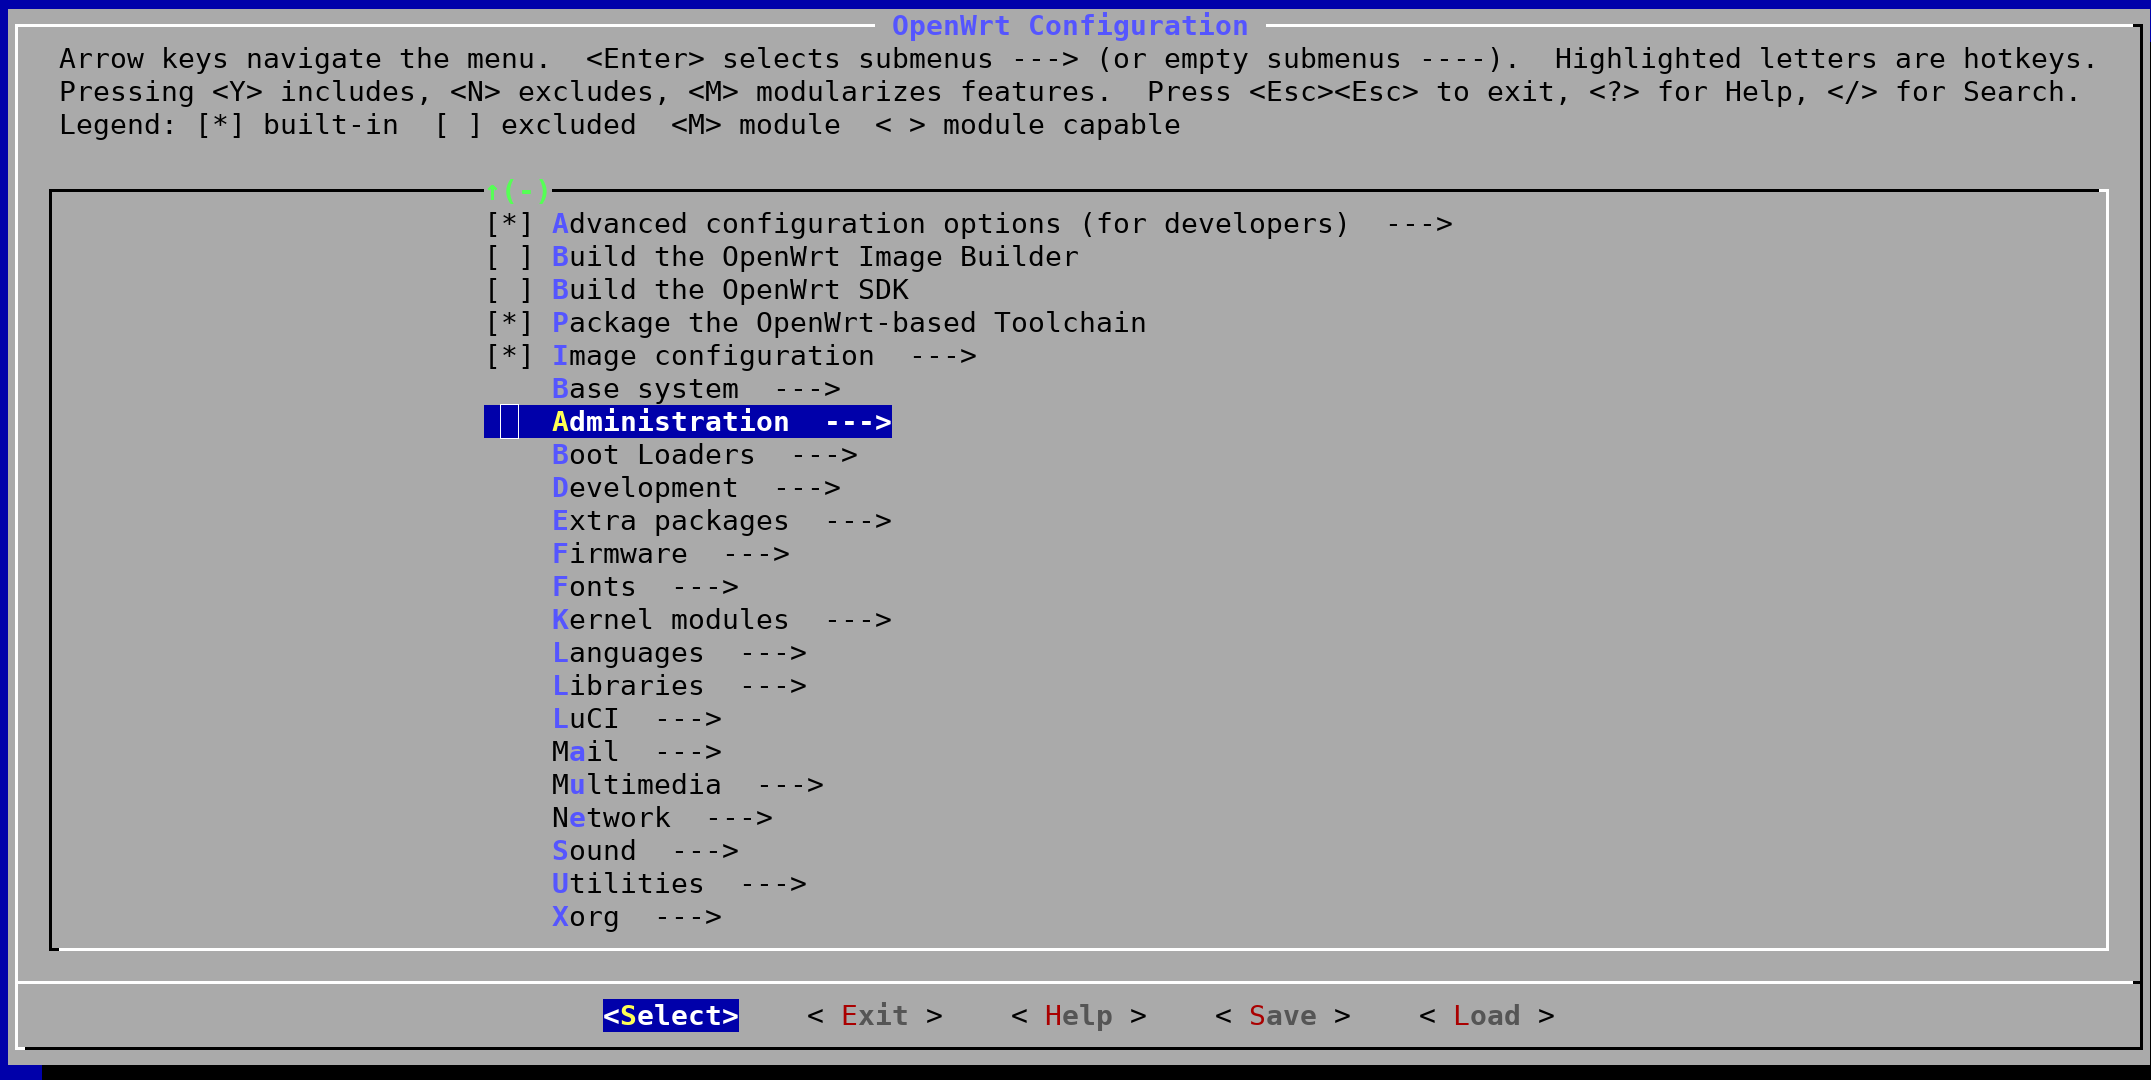
Next, end users are free to add additional packages and customize their image how they want. The menus here are vast, and even if you’re not familiar with ncurses-style menu browsing within 10 minutes of poking around, you’ll have an OpenWrt image with your desired configuration.
Finally, building the actual image itself, you’ll need to execute the following to build the firmware image. The keyword download fetches all source code and associated dependencies needed for your custom image. The world build directive will perform all the necessary steps to build the OpenWrt image for the target device. The $(nproc) make keyword will uses all available cores to build in parallel.
$> make -j$(nproc) download world
If all goes according to plan, a fully developed OpenWrt image will be created within the output directory of your container environment. At this point, you should refer to the Wiki page of the target device for instructions on how to proceed with flashing your image. If possible, try to boot via TFTP first to ensure all of the packages you want are there. It may even be beneficial to run an “in-memory” only image for a few days to ensure all the necessary packages you want are on the target device.
Beyond The Blog
This is a brief summary into building OpenWrt. I’ve used this same process for my hardware devices listed in my previous blog post without any issue. Next steps are to perform benchmarking across the Raspberry Pi, OpenWrt One, and Gl-iNet routers to identify which one performs best. If you haven’t looked at my previous blog post for how I went about choosing OpenWrt for my homelab.
Thank you for reading!